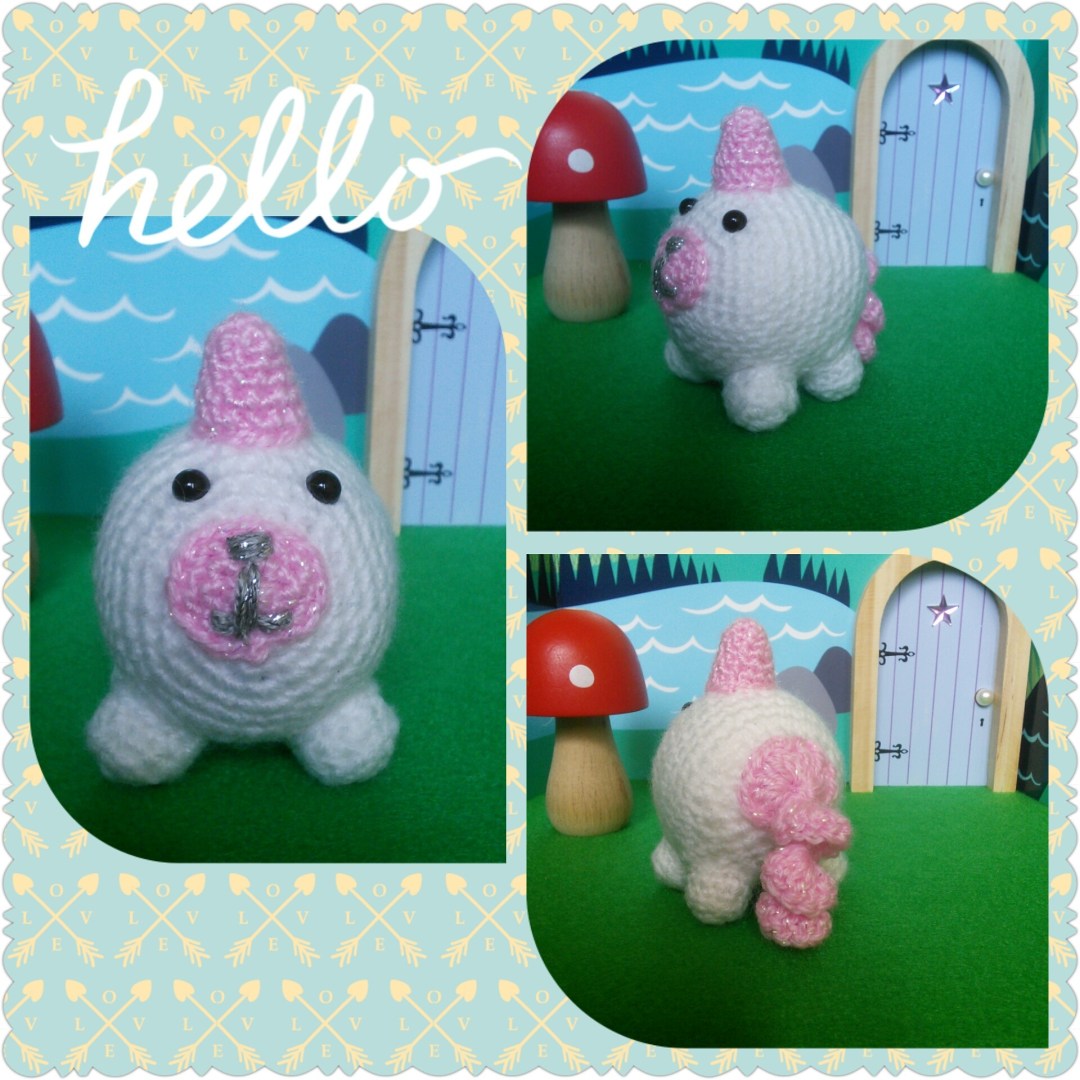
I wanted to create a fun little round unicorn pattern and this is the end result. It is only small and is perfect for using up small amounts of yarn and stuffing you might have leftover from larger projects.
Have fun trying different yarn and hook sizes combining different colours for interesting and exciting makes. I loved designing this little cutie, and although it doesn’t look much like a Unicorn I hope you agree that it is an adorable pocket-sized pal.
Keep scrolling for the full pattern and the list of equipment you will need.

Equipment
Yarn – DK yarn, 2 colours
Hook – 3 mm
Sewing Needle
Scissors
Toy Stuffing
6 mm Safety Eyes (optional)
Stitch marker
Abbreviations
ch – Chain Stitch
bl – Back Loop
dc – Double Crochet
dc2tog – Double crochet two stitches together
tr – Treble Stitch
Pattern
Part 1 – Body – Yarn A
Make a magic loop
Round 1: Ch 1, (does not count as a stitch), 6 dc into the loop (6)
Round 2: 2 dc in each stitch around (12)
Round 3: *1 dc, 2 dc in the next stitch* repeat 6 times (18)
Round 4: *2 dc, 2 dc in the next stitch* repeat 6 times (24)
Round 5: *3 dc, 2 dc in the next stitch* repeat 6 times (30)
Round 6: *4 dc, 2 dc in the next stitch* repeat 6 times (36)
Round 7 – 15: 1 dc in each stitch (36)
Round 16: *4 dc, dc2tog* repeat 6 times (30)
Round 17: *3 dc, dc2tog* repeat 6 times (24)
Round 18: *2 dc, dc2tog* repeat 6 times (18)
Round 19: *1 dc, dc2tog* repeat 6 times (12)
Stuff the body, if you are using safety eyes position them now.
Round 20: dc2tog repeat 6 times (6)
Fasten off
Part 2 – Legs – Yarn A (make 4)
Make a magic loop
Round 1: Ch 1, (does not count as a stitch), 6 dc into the loop (6)
Round 2: 2 dc in each stitch (12)
Round 3: Working each stitch in the bl *1 dc, 2 dc in the next stitch* repeat 6 times (18)
Round 4: 1 dc in each stitch (18)
Fasten off – Leave a long tail for stitching
Part 3 – Face – Yarn B
Make a magic loop
Round 1: Ch 1, (does not count as a stitch), 6 dc into the loop (6)
Round 2: 2 dc in each stitch (12)
Round 3: *1 dc, 2 dc in the next stitch* repeat 6 times (18)
Fasten off – Leave a long tail for stitching
Part 4 – Horn – Yarn B
Make a magic loop
Round 1: Ch 1, (does not count as a stitch), 4 dc into the loop (4)
Round 2: 2 dc in each stitch (8)
Round 3: 1 dc in each stitch (8)
Round 4: *3 dc, 2 dc in the next stitch* repeat twice (10)
Round 5: 1 dc in each stitch (10)
Round 6: *1 dc, 2 dc in the next stitch* repeat 5 times (15)
Round 7: 1 dc in each stitch (15)
Fasten off – Leave a long tail for stitching

Part 5 – Tail – Yarn B
Foundation Chain – Ch 12
Row 1: tr in the third chain from hook, 3 tr into this stitch, 5 tr into the next stitch, 5 tr in each until the end.
Fasten off – Leave a long tail for stitching

To Assemble
You may find it useful when assembling your unicorn to use pins to pin the legs in position on the body.
Sew the legs in place, adding a small amount of stuffing to each leg as you sew each leg to the body.
Position your unicorn face, carefully sewing around the outside.You can sew a smile and nose onto the face before or after sewing it to the body.
Position the unicorn horn, adding a small amount of stuffing before sewing all the way around the base to ensure it is firmly attached.
To sew the curly tail to your magical unicorn use the above photo as a guide. I started sewing around the outside before moving to the middle to ensure the centre of the tail is firmly attached also.
I hope you have great fun making your own little unicorn.
You can download a free pdf version of the pattern from Ravelry – Click Here
If you have any comments or need any help please leave a comment below.
I would love to see your completed designs you can use the #crochetfolk.
Try making this pattern with different yarns and buttons to see what else you can make.
Happy Hooking x
